


How to Make Solid Dose Tablets: A Beginner’s Guide to Tableting 101
So, you're ready to start making solid dose tablets. Whether you're formulating health products, nutritional supplements, or unique blends for plant care or pets, tablet making is a surprisingly satisfying process once you get the hang of it. This guide is designed for people who want to understand the basics of tableting-without needing a pharmaceutical degree or a lab full of industrial equipment.
Let’s walk through it, step by step.
What Is a Solid Dose Tablet, Exactly?
A solid dose tablet is a compacted mix of powdered materials that contains at least one active ingredient and a blend of functional additives called excipients. You’re probably familiar with tablets from the world of medicine, but solid tablets are also used widely in nutraceuticals, animal care, and even agriculture.
Unlike capsules or liquids, tablets are easy to store, dose, and handle. They offer better shelf stability, more precise control over ingredient delivery, and a professional finish to your product.
Ingredients: What Goes into a Tablet?
The Active Ingredient
This is the star of your show. It could be a vitamin, botanical, mineral, or some other functional material that delivers the benefit your tablet is designed for.
The Excipients
These are the behind-the-scenes heroes. They make the tablet possible by improving flow, binding ingredients, preventing sticking, and ensuring your tablet breaks down properly when used. Here are the main ones:
Binders:
These help hold ingredients together after compression, creating the internal strength needed for tablets to stay intact during handling. They work by forming tiny adhesive bridges between particles.
Microcrystalline Cellulose is a common choice for oral tablets thanks to its excellent flow and compressibility. For chewable tablets, Dextrates or Compressible Dextrose are often used for their solubility and mild sweetness. Copovidone is a strong binder that works well alongside others. Use around 5–15% of your total tablet weight for best results.
Fillers/Diluents:
These are used to add volume to your tablet formulation when the active ingredients are too small in quantity to create a tablet of practical size. Without fillers, your tablet might end up too tiny to press or handle effectively. While not always strictly necessary, fillers are essential in most cases for consistent shape, weight, and dosing.
Common examples include Microcrystalline Cellulose, Lactose, and Dicalcium Phosphate, all of which are flowable, compressible, and blend well with other ingredients.
Lubricants:
These keep your mix from sticking to the tooling during compression and ejection, kind of like oiling a muffin tin. They also help your press run smoothly and last longer.
Magnesium Stearate is cheap and effective but not water-soluble, and it can weaken binding if mixed too long. Sodium Stearyl Fumarate costs more, but it’s water-soluble and stays stable even with extended mixing. Both work well, it just depends on what your formula needs.
Disintegrants:
These help the tablet break apart after it's swallowed so the active ingredients can be absorbed effectively. Without them, a tablet might stay intact too long, reducing bioavailability or delaying its effects. Disintegrants work by dissolving or swelling when they come into contact with liquid, which creates internal pressure that breaks the tablet apart.
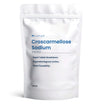
Croscarmellose Sodium is a great option because it activates quickly, is highly effective at low concentrations, and performs well across a wide range of tablet types.
Glidant/Anti-Caking Agent:
These improve the flow of powders during blending and tableting, helping your mix move smoothly through the hopper and feed system. Without a glidant, your powder might clog, bridge, or feed unevenly, which can mess with tablet weight and consistency. Glidants work by reducing friction between particles and the equipment surfaces.
Silica (Collidial Silicon Dioxide) is a popular option thanks to its effectiveness at low concentrations (typically around 0.1–1%) and its compatibility with most formulas.
Colorant:
These give your tablets a consistent, recognizable appearance and help with branding or identifying different formulas. They can also make your product feel more professional. Colorants should be used sparingly—typically under 1% of the total tablet weight.
You can choose from natural options like beet powder or spirulina, or certified synthetic ones like FD&C dyes or iron oxides. Just make sure they’re approved for your market and compatible with your formula.
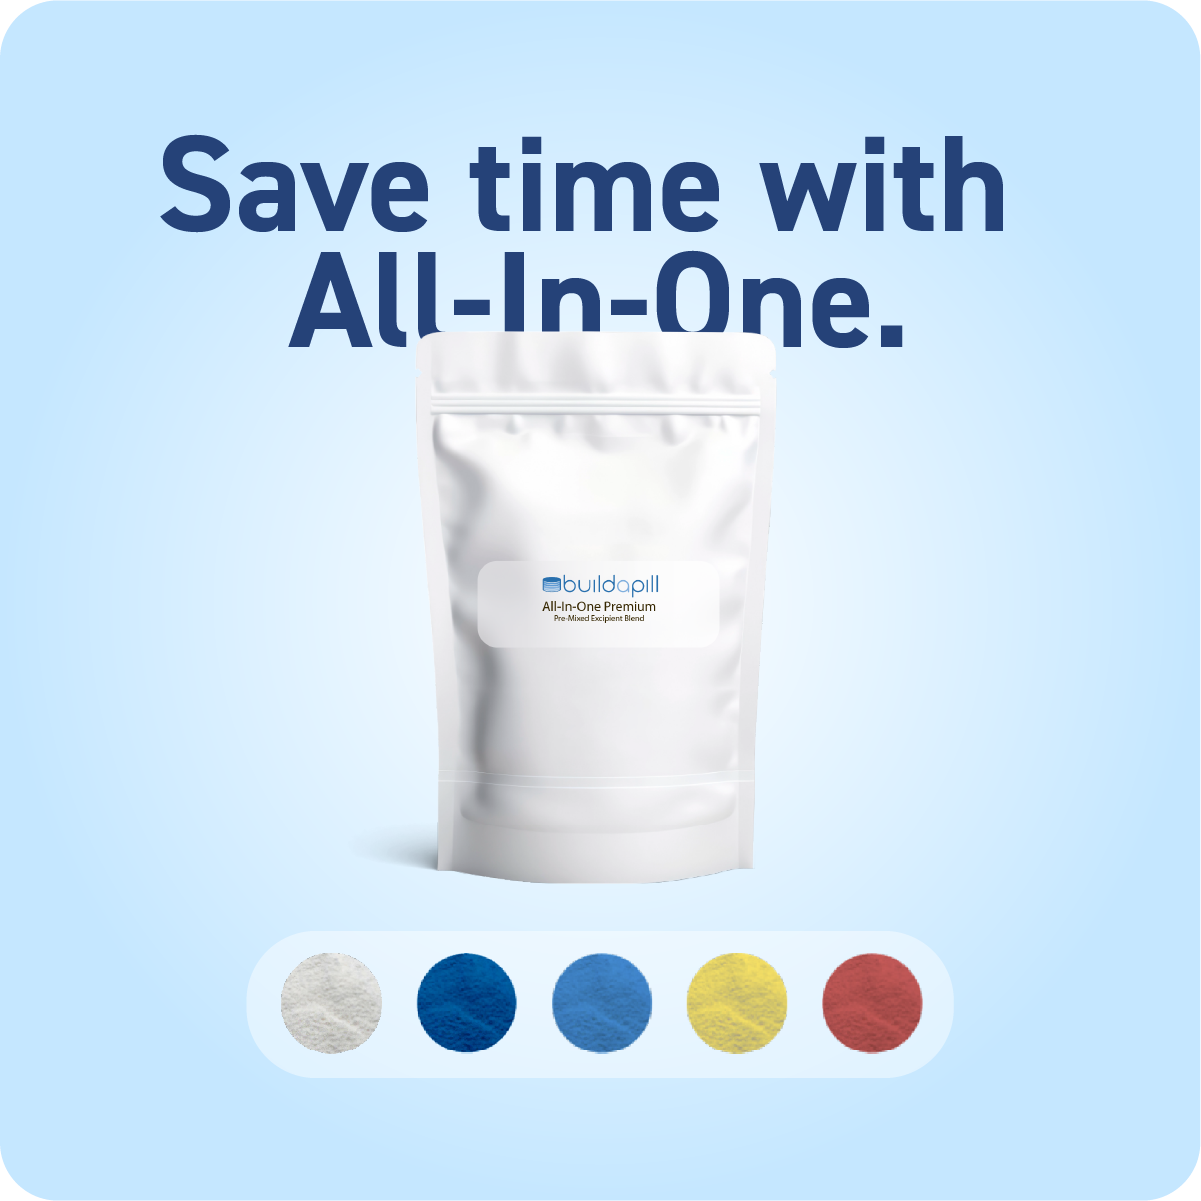
Did you know? We Offer Pre-Mixed Excipient Blends
If you're new to tablet making or just want to simplify your process, our pre-mixed excipient blends are a smart place to start. We’ve designed them to save you time, eliminate the guesswork, and help you avoid costly trial-and-error. Each blend is carefully formulated and tested for performance in real-world use.
Formulation
Formulating tablets is part science, part strategy. The goal is to create a blend that flows well, compresses cleanly, and produces tablets that are strong, consistent, and easy to swallow (or chew, if that's your product).
General Ratio Guidelines (by percentage of total tablet weight):
| Active Ingredient(s) | 5%–50% | Depending on potency or dose |
| Binders/Fillers: | 50%–80% | For cohesion and make up the bulk when actives are low dose |
| Disintegrants: | 2%–5% | For breakup in the body |
| Lubricants: | 0.25%–2% | For smooth ejection |
| Glidants: | 0.1–2% | Improves Flow |
| Colorants: | 0.01-3% | Depending on Potency (Better to start low and work up to desired shade) |
Example Starting Formula:
| Active Ingredient(s) | 20% | Caffeine |
| Binders/Fillers: | 74% | Microcrystalline Cellulose 102 |
| Disintegrant: | 4% | Croscarmellose Sodium |
| Lubricant: | 1% | Sodium Stearyl Fumarate (water soluble) |
| Glidant: | 1% | Silica (Silicon Dioxide) |
Tips:
- If your active has poor flow, add a glidant like Silica (Silicon Dioxide) or consider using a flowable filler to help the mix move more easily through your press.
- Test small batches and adjust one variable at a time.
- Document everything. Good notes make scale-up easier later.
If you're unsure where to start, our pre-mixed excipient blends already account for these ratios and make life much easier. They're designed to give you great results on your first run.
Mixing: Where Good Tablets Begin
Mixing your ingredients thoroughly is the foundation of good tablet quality. Think of it like baking-you wouldn't want pockets of baking soda ruining your cookies, and the same goes for uneven actives or lubricants in your tablets.
How to Mix Powders Properly
- Sift First: Use a mesh sieve to break up clumps. Consistent particle size is key to even distribution during mixing, better flow during compression, and more uniform tablet weight. Without sieving, larger clumps can throw off your blend and lead to inconsistent tablets.
- Add Ingredients in Phases: Start with the binder and filler, then add in your actives, colorants, disintegrants, and glidants, finally add lubricants last. Adding lubricants too early, especially Magnesium Stearate, can coat particles and interfere with proper binding and disintegration.
- Account for Colorants: When using colorants, mix more thoroughly and slightly longer to ensure the dye fully disperses. Incomplete blending leads to streaks or faded tablets. Add colorants early in the process to distribute them evenly.
- Choose the Right Equipment: We recommend using proper mixing equipment for even distribution, like a paddle mixer or V-blender, especially for larger runs. But for DIY small batches, you can use a sealed container or even a heavy-duty double zipper bag and shake thoroughly by hand. It’s a simple, low-cost solution that still works if done with care.
Check the powder visually-it should have a uniform texture and color, with no visible clumps.
Choosing the Right Tablet Press
Your tablet press doesn’t need to be fancy-just appropriate for your volume and goals.
Types of Tablet Presses
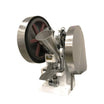
- Manual Single Punch: Great for beginners and low-volume runs. Budget-friendly and simple.
- Electric Single Punch: Speeds things up a lot. Ideal for scaling up while keeping things manageable.
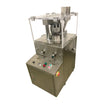
- Rotary Press: Industrial-grade equipment for high-throughput production. Likely overkill unless you're producing at scale.
Key Specs to Consider
- Tablet Size and Shape: Standard round tablets are the easiest to work with.
- Compression Force: Make sure it can handle your blend. Too little and tablets crumble; too much and they may laminate or crack.
- Tooling: Flat-faced punches are beginner-friendly. Embossed punches look nice but need more precision.
Pro Tip: Always run a test batch using a placebo mix (like just filler and lubricant) to dial in your settings.
Tablet Press Setup & Safety
Before pressing your actual product, get familiar with how your machine works.
- Adjust Fill Depth: This controls tablet weight and thickness.
- Set Compression Pressure: Affects tablet hardness.
- Ejection Settings: Important for preventing cracking or edge wear.
Always wear proper PPE (gloves, dust mask, goggles) and work in a clean environment. Regularly clean your punches and dies, and don’t forget to lightly lubricate machine parts as needed (not your blend-your machine).
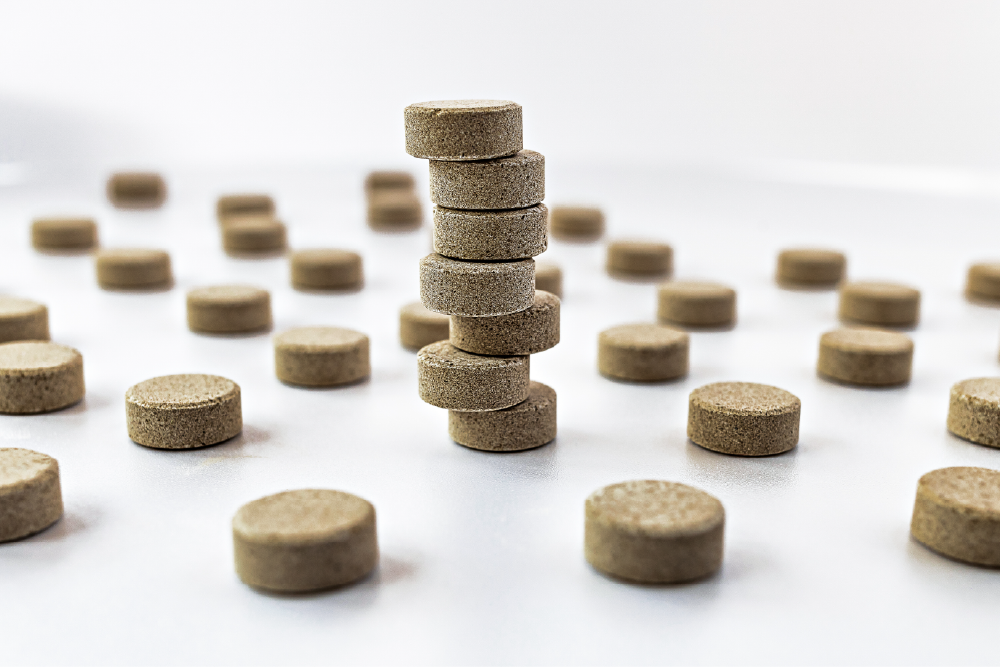
Pressing Your First Batch
Once your powder is mixed and your press is ready, it’s time to make tablets.
Step-by-Step:
- Load powder into the hopper.
- Turn on the press (or operate manually).
- Check first few tablets for shape, weight, and finish.
- Adjust pressure and fill depth if needed.
- Run your batch.
What to Watch For
- Capping: The top or bottom of the tablet separates. Usually from trapped air or too much compression.
- Chipping: Often due to worn tooling or low compression.
- Sticking: Your formula may need more lubricant.
- Inconsistent Weights: Check your fill depth or mixing uniformity.
Each issue has a fix, and part of the learning curve is tweaking your formula and settings.
For more troubleshooting of common problems related to making tablets check out our trouble shooting article!
➔ Common Problems When Pressing Tablets and How to Troubleshoot.
Quality Control: Keep It Consistent
You don’t need a full lab, but basic quality checks go a long way.
At Minimum, Check:
- Tablet Weight: Use a digital scale. Aim for less than 5% variation.
- Hardness: Shouldn’t crumble when pressed between fingers, but not rock-hard.
- Disintegration: Place in a glass of water or simulated stomach acid and watch how long it takes to break apart. Under 30 minutes is a good rule of thumb.
If you're selling your product, consider getting third-party testing down the line for batch verification.
Packaging & Storage
Moisture is the #1 enemy of tablets. Tablets should be stored in a cool, dry, airtight environment.
Packaging Options:
- HDPE bottles: Durable and reusable
- Stand-up pouches: Good for short-term or sample sizes
- Blister packs: Professional look, but requires specialized equipment
Make sure your labels are compliant with your local regulations, especially if you're selling in Canada or the U.S.
When You’re Ready to Scale
Once you’ve got your process dialed in, scaling is a matter of:
- Increasing batch sizes
- Automating parts of your workflow
- Improving batch tracking and documentation
- Investing in a more powerful press or blending equipment
Build A Pill offers custom excipient blends and tablet formulation services if you're ready to take your product to the next level. We're here to help you go from idea to production.
Final Thoughts: You Got This
Making solid dose tablets might seem complex at first, but like anything else, it becomes second nature with some trial, error, and practice. The reward? A professional-quality product you can be proud of-whether you're making it for yourself, your customers, or your business.
If you have questions or want help choosing the right excipients, feel free to reach out. Build A Pill exists to make your tablet-making journey easier, faster, and more successful.
Happy pressing!


Leave a comment
This site is protected by hCaptcha and the hCaptcha Privacy Policy and Terms of Service apply.